Hey friends 🙂 new YouTube video up on my channel! I swatched every Colourpop product in my collection! Enjoy! Leave me a comment and I will check out your channel!
http://youtu.be/YYm5Ou22YEo
🦄💕 -Kylie
Hey friends 🙂 new YouTube video up on my channel! I swatched every Colourpop product in my collection! Enjoy! Leave me a comment and I will check out your channel!
http://youtu.be/YYm5Ou22YEo
🦄💕 -Kylie

Hi guys! Check out my YouTube channel review of the Nyx lingerie liquid lipsticks vs Kylie Jenner’s lip kit!! The packaging was super similar so I thought I’d put them to the test! Find out if I found a dupe for Candy K!

Don’t forget to subscribe to me and if you comment I will check out your channel!

So this article is my “started from the bottom now I’m here” story of how I have finally managed to perfect the ultimate self tan after many embarrassing years of being an orange little Dorito. Self tanning is an art, people. I’ve considered putting “professional fake tanner” on my resumè more than once. Here’s my tips and tricks to getting that dark, just got off the boat from my 3 week mediterrean cruise tan. Enjoy.
I would first like to start by giving you some advice that may or may not change your life. When it comes to beauty there are three things that I always tell my clients that they absolutely should splurge on: makeup brushes, skincare, and self tanner. When it comes to self tanning, your life will be (or already has) changed when you come to the realization that spending the extra bucks on self tanner will solve all of your problems (well maybe just your tanning problems, it won’t make your ex-boyfriend not a douche anymore). Drugstore self tan just can’t compare. It’s streaky, orange, and just plain old hard to manage. Trust me.
Step 1: Exfoliate. Self tanning without exfoliating first is a crime in all 50 states. Take my word for it. I use these exfoliating gloves that you can get pretty much anywhere for like a dollar.
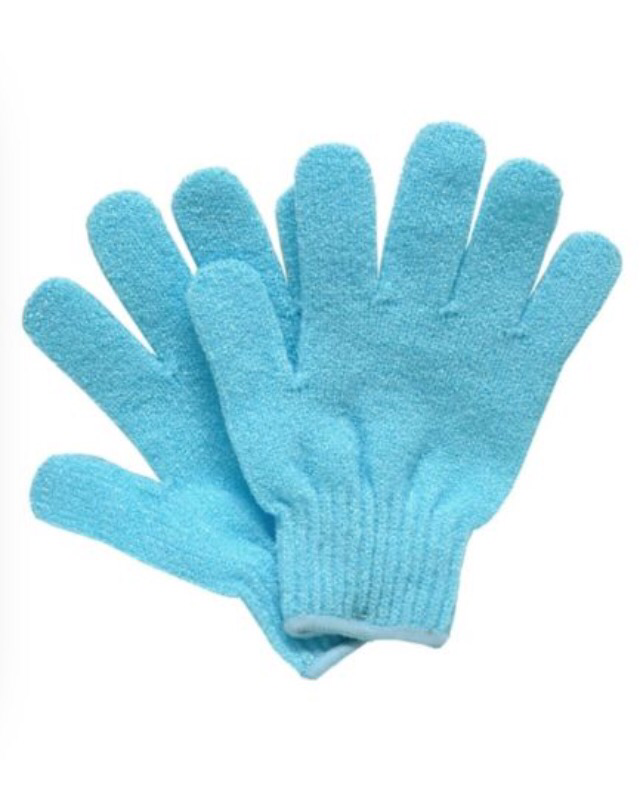
Use them in the shower with soap and gently remove dead skin cells, paying extra attention to elbows, knees, ankles, and knuckles. When you’re done I recommend you do all of your shaving so the self tan goes on smoother and lasts longer.
Step 2: Self Tan with a Mitt. Self tanner comes in many forms, and yes I’ve tried them all. Through many years of trial and error I’ve found that mousse is the easiest and most natural looking. My self tanner of choice is the St. Tropez Self Tanning Mousse in Dark.

This is about $40 but you get about 7+(estimate) full body tans in one bottle. If the price tag is painful for you to look at, think of it in terms of going to get a professional spray tan at the tanning spa. Those will cost you $25+ a pop for one full body tan and with this product you get many full body tans that look just as good, if not better. The other huge selling point is that it is green based, not orange. It will look like you got a dark, mediterrean tan from all the vacations you don’t go on. People will thinking you’re worldly and interesting when in reality you just rock at self tanning and spend most of your time inside reading beauty blogs.
One extremely important tip is to use a tanning mitt. It will make the mousse go on flawless. “Maybe she’s born with it, maybe she used a tanning mitt” is the motto I came up with (patent pending). Anyway, I would spend a few extra bucks on the mitt too because the cheap one from Ulta just doesn’t work the same as the one that I bought from St. Tropez. Plus it’s reusable.

Simply pump the mousse onto the mitt and smooth over your skin. The great thing about the St. Tropez mousse is that it shows up instantly so you can see where you’re putting the tan and can blend out any spots you missed. Another tip is to self tan at night so you can let it develop overnight and shower it off in the morning. I haven’t noticed the product transferring onto my sheets but you might still want to sleep on a towel, just in case.
Step 3: Shower. Since I already know that you took my advice and self tanned at night, you may be shocked by how dark the tan is in the morning. If you’re not used to being tan, it may be a little surprising but the good news is that the excess product will come off in the shower and leave you looking pretty good after you towel off. Showering also gets rid of that self tanning smell that no one thinks is cute. Here’s my before and after photo:

*Disclaimer: there is nothing wrong with being pale and if you enjoy your natural skin tone, more power to ya. I just prefer being tan and it makes me feel happier and more self confident. I also feel like I look skinnier when I self tan which is why I’m now addicted to the self tan grind.
As far as tanning extenders and all that jazz, I’m not really sure I believe in those products since none have really made a dramatic difference for me. If you know of any that work though please let me know in the comments! Also, I am still searching for a self tanner for my face that lasts and doesn’t look muddy. If you know of any, please let me know as well :). For now I’ll just stick to bronzer and darker foundation for my freshly tanned days.
My final tip is to remember to wash your tanning mitt! I got lazy and didn’t wash my mitt for a while (okay, a long while) and realized my self tan wasn’t going on as cleanly as it used to. All I do to wash my mitt is use a little soap and warm water in the sink and let it dry.
That’s it folks, I hope you enjoyed this self tanning guide because it took me many years to finally find products that gave me the look that I wanted. Honestly, my life was forever changed when I figured out how to get a tan without the sun. Self tanning is truly the only way you should get tan and don’t forget to wear sunscreen!!! Stay beautiful, my friends! ☀️
Love,

As I mentioned in my last post, I work as a product consultant at Sephora so a great benefit of my job is knowing and learning about all the new launches. So basically you could say that following me and my blog is a lot like getting the inside scoop on all the behind the scenes action at Sephora. Think of it like the E! News of the makeup world. In the event that you aren’t a fan of Sephora, are an “Ulta-Girl-Till-You-Die”, or could just care less, my mediocre jokes are definitely still worth the follow. Anyway, now that I’m done shouting myself out in my own blog (all time low), let’s get into the good stuff.
*Disclaimer: Some of these products have not come out yet, so don’t be discouraged if your Sephora hasn’t gotten them in. Call beforehand if you have any questions.
Foundations
Too Faced ‘Born This Way’ – A medium to full coverage foundation that is supposed to look and feel natural while still giving coverage. Key words: weightless, natural

Makeup For Ever Ultra HD – This foundation claims to be undetectable by 4K technology and it will be replacing the old formula. Many lovers of the old HD are saying that it is much better and definitely improved. This will look more natural on your skin and now comes in even more shade ranges including the old ones. Finally a makeup company listened to our feedback and offered us the shades we’ve been having to custom make for ourselves! Side note: this is also supposed to look and feel very natural… I can’t believe cake face is finally going out of style (joke)

Eyeliners
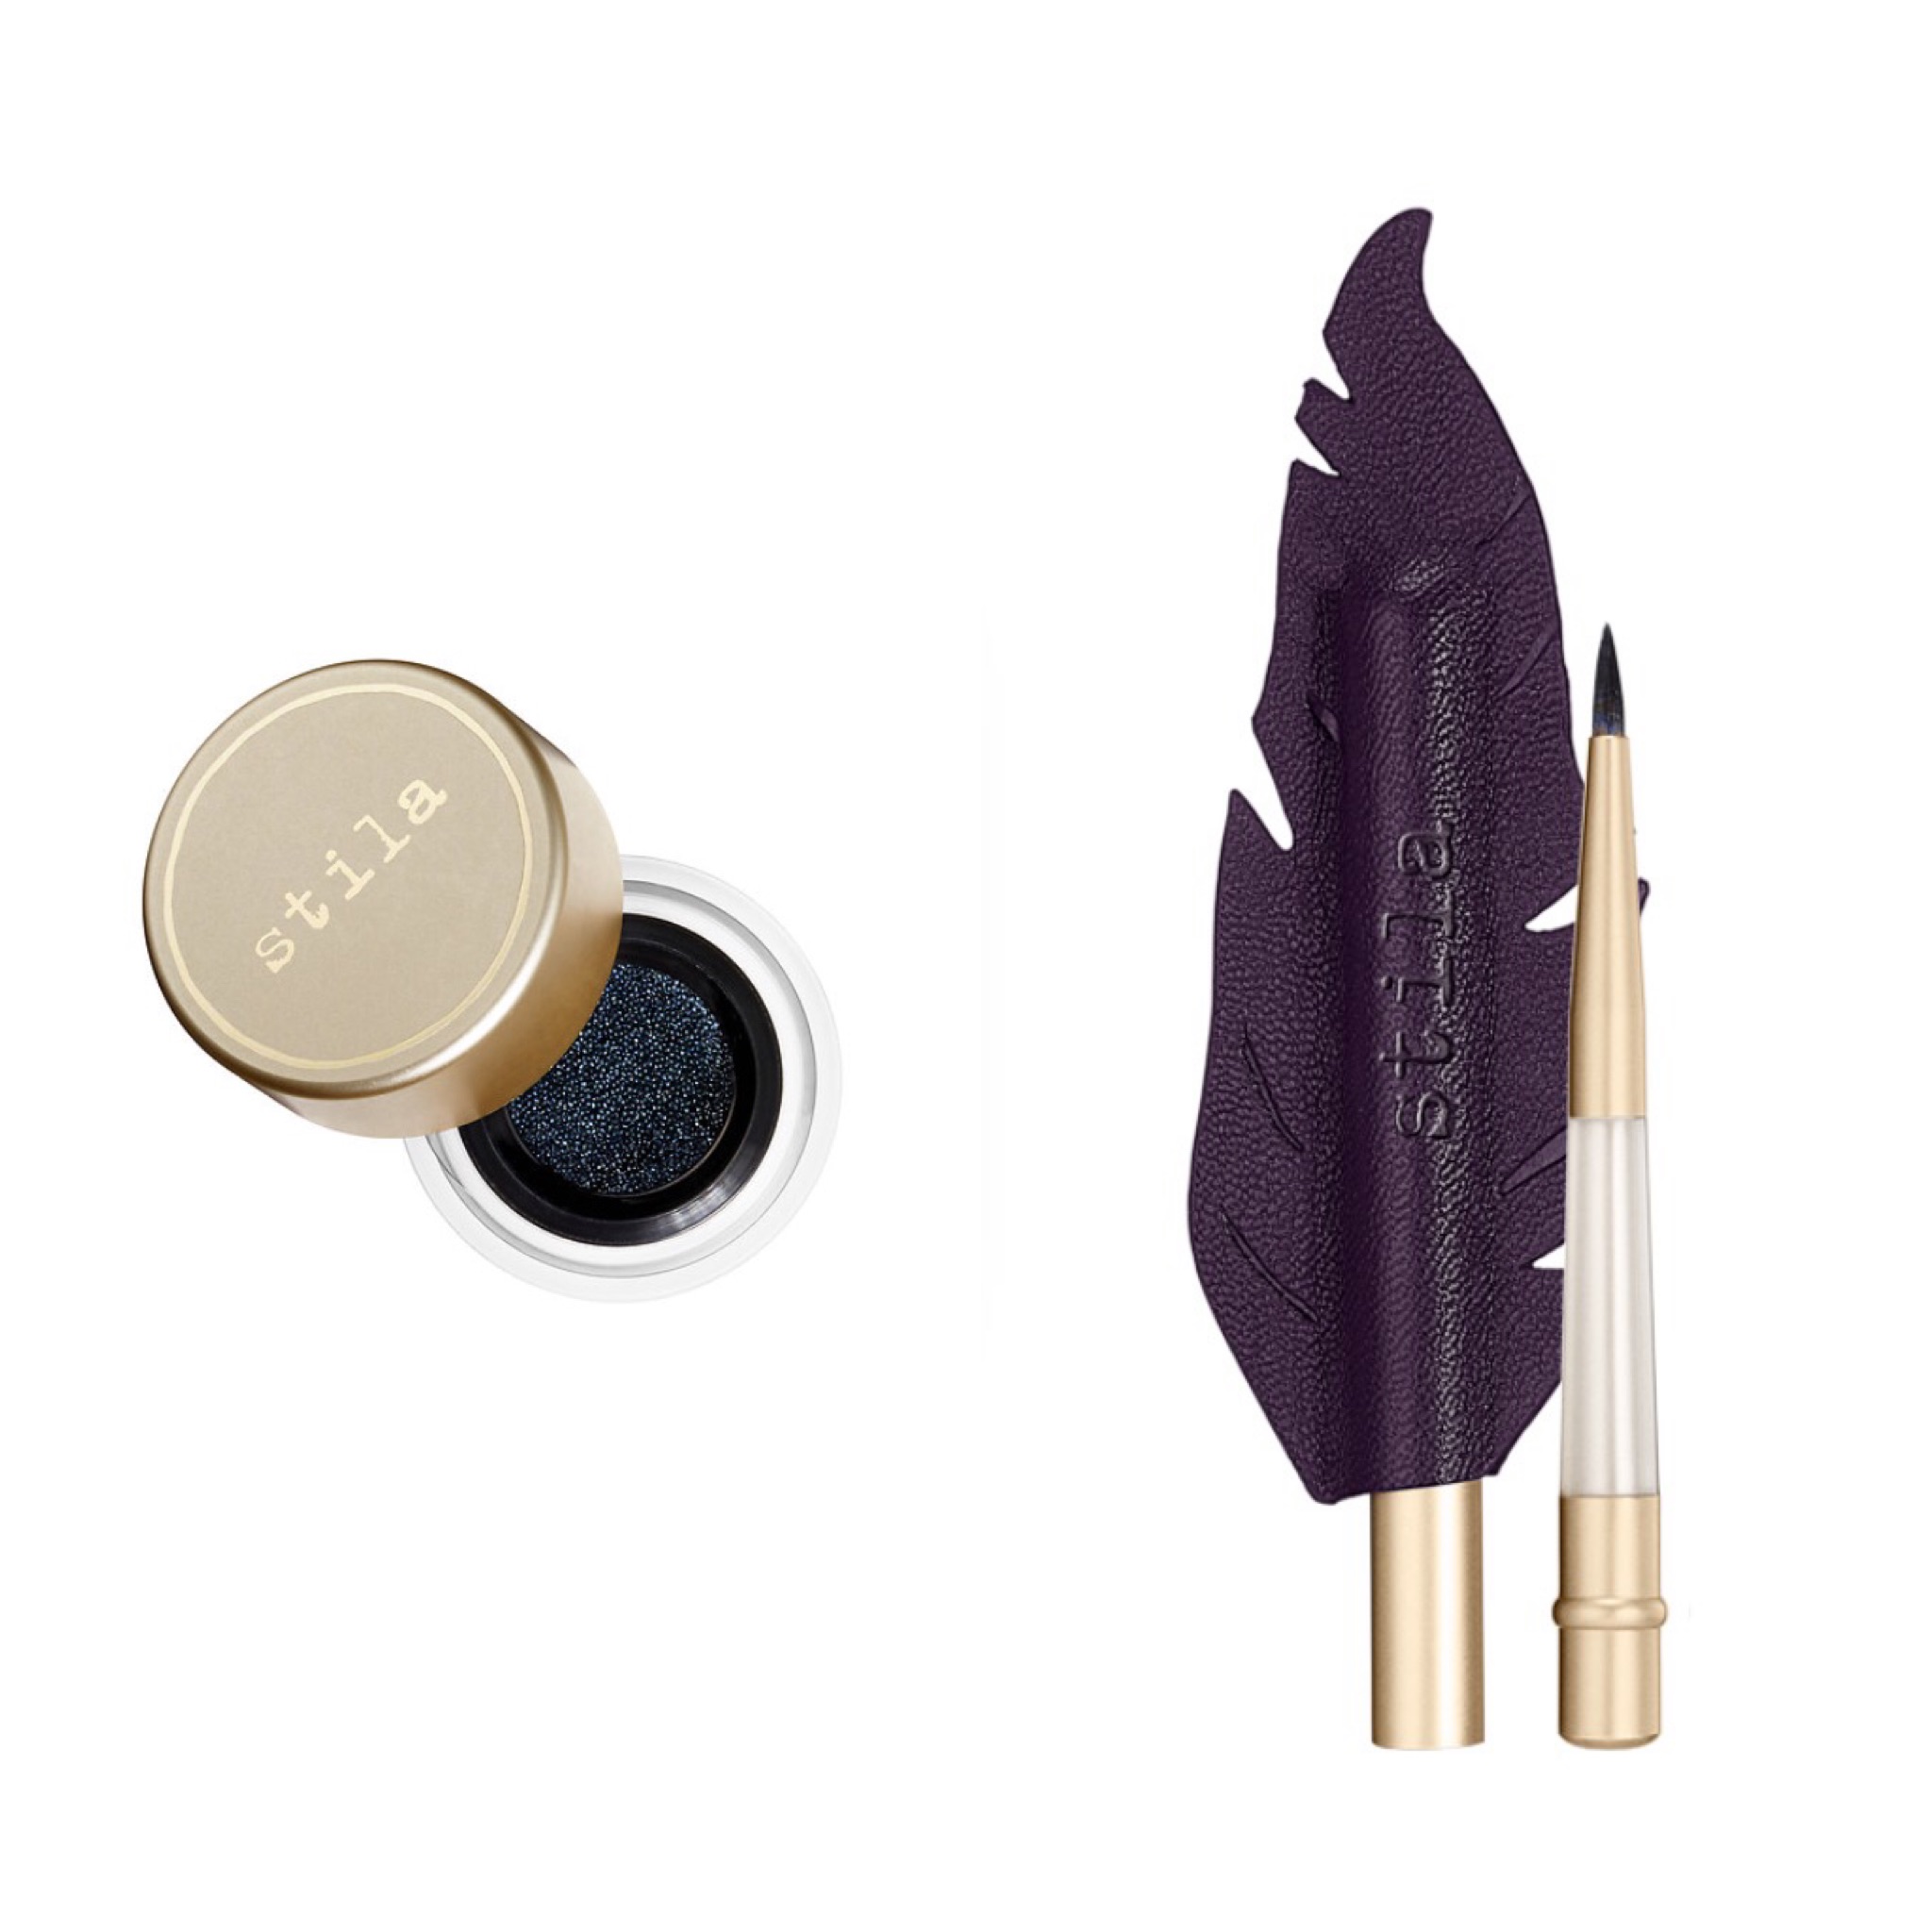
Stila Cushion Eye Liner – This liner comes with a funny little brush which looks like an ink quill. It features technology similar to that makeup remover sponge stuff you just dip your fingers in. Comes in very cool colors you might not see every day and gives an interesting-in-a-good-way finish
Smashbox Photo Angle Pure Pigment Gel Liners – These are freaking pigmented, people. I have the black and I think I finally may have found a black eyeliner to match my soul (overused joke, I’m sorry). Anyway, these are similar to the Benefit They’re Real liners but I think this one is better. Smashbox 1, Benefit 0

Shadows and Shadow Palettes
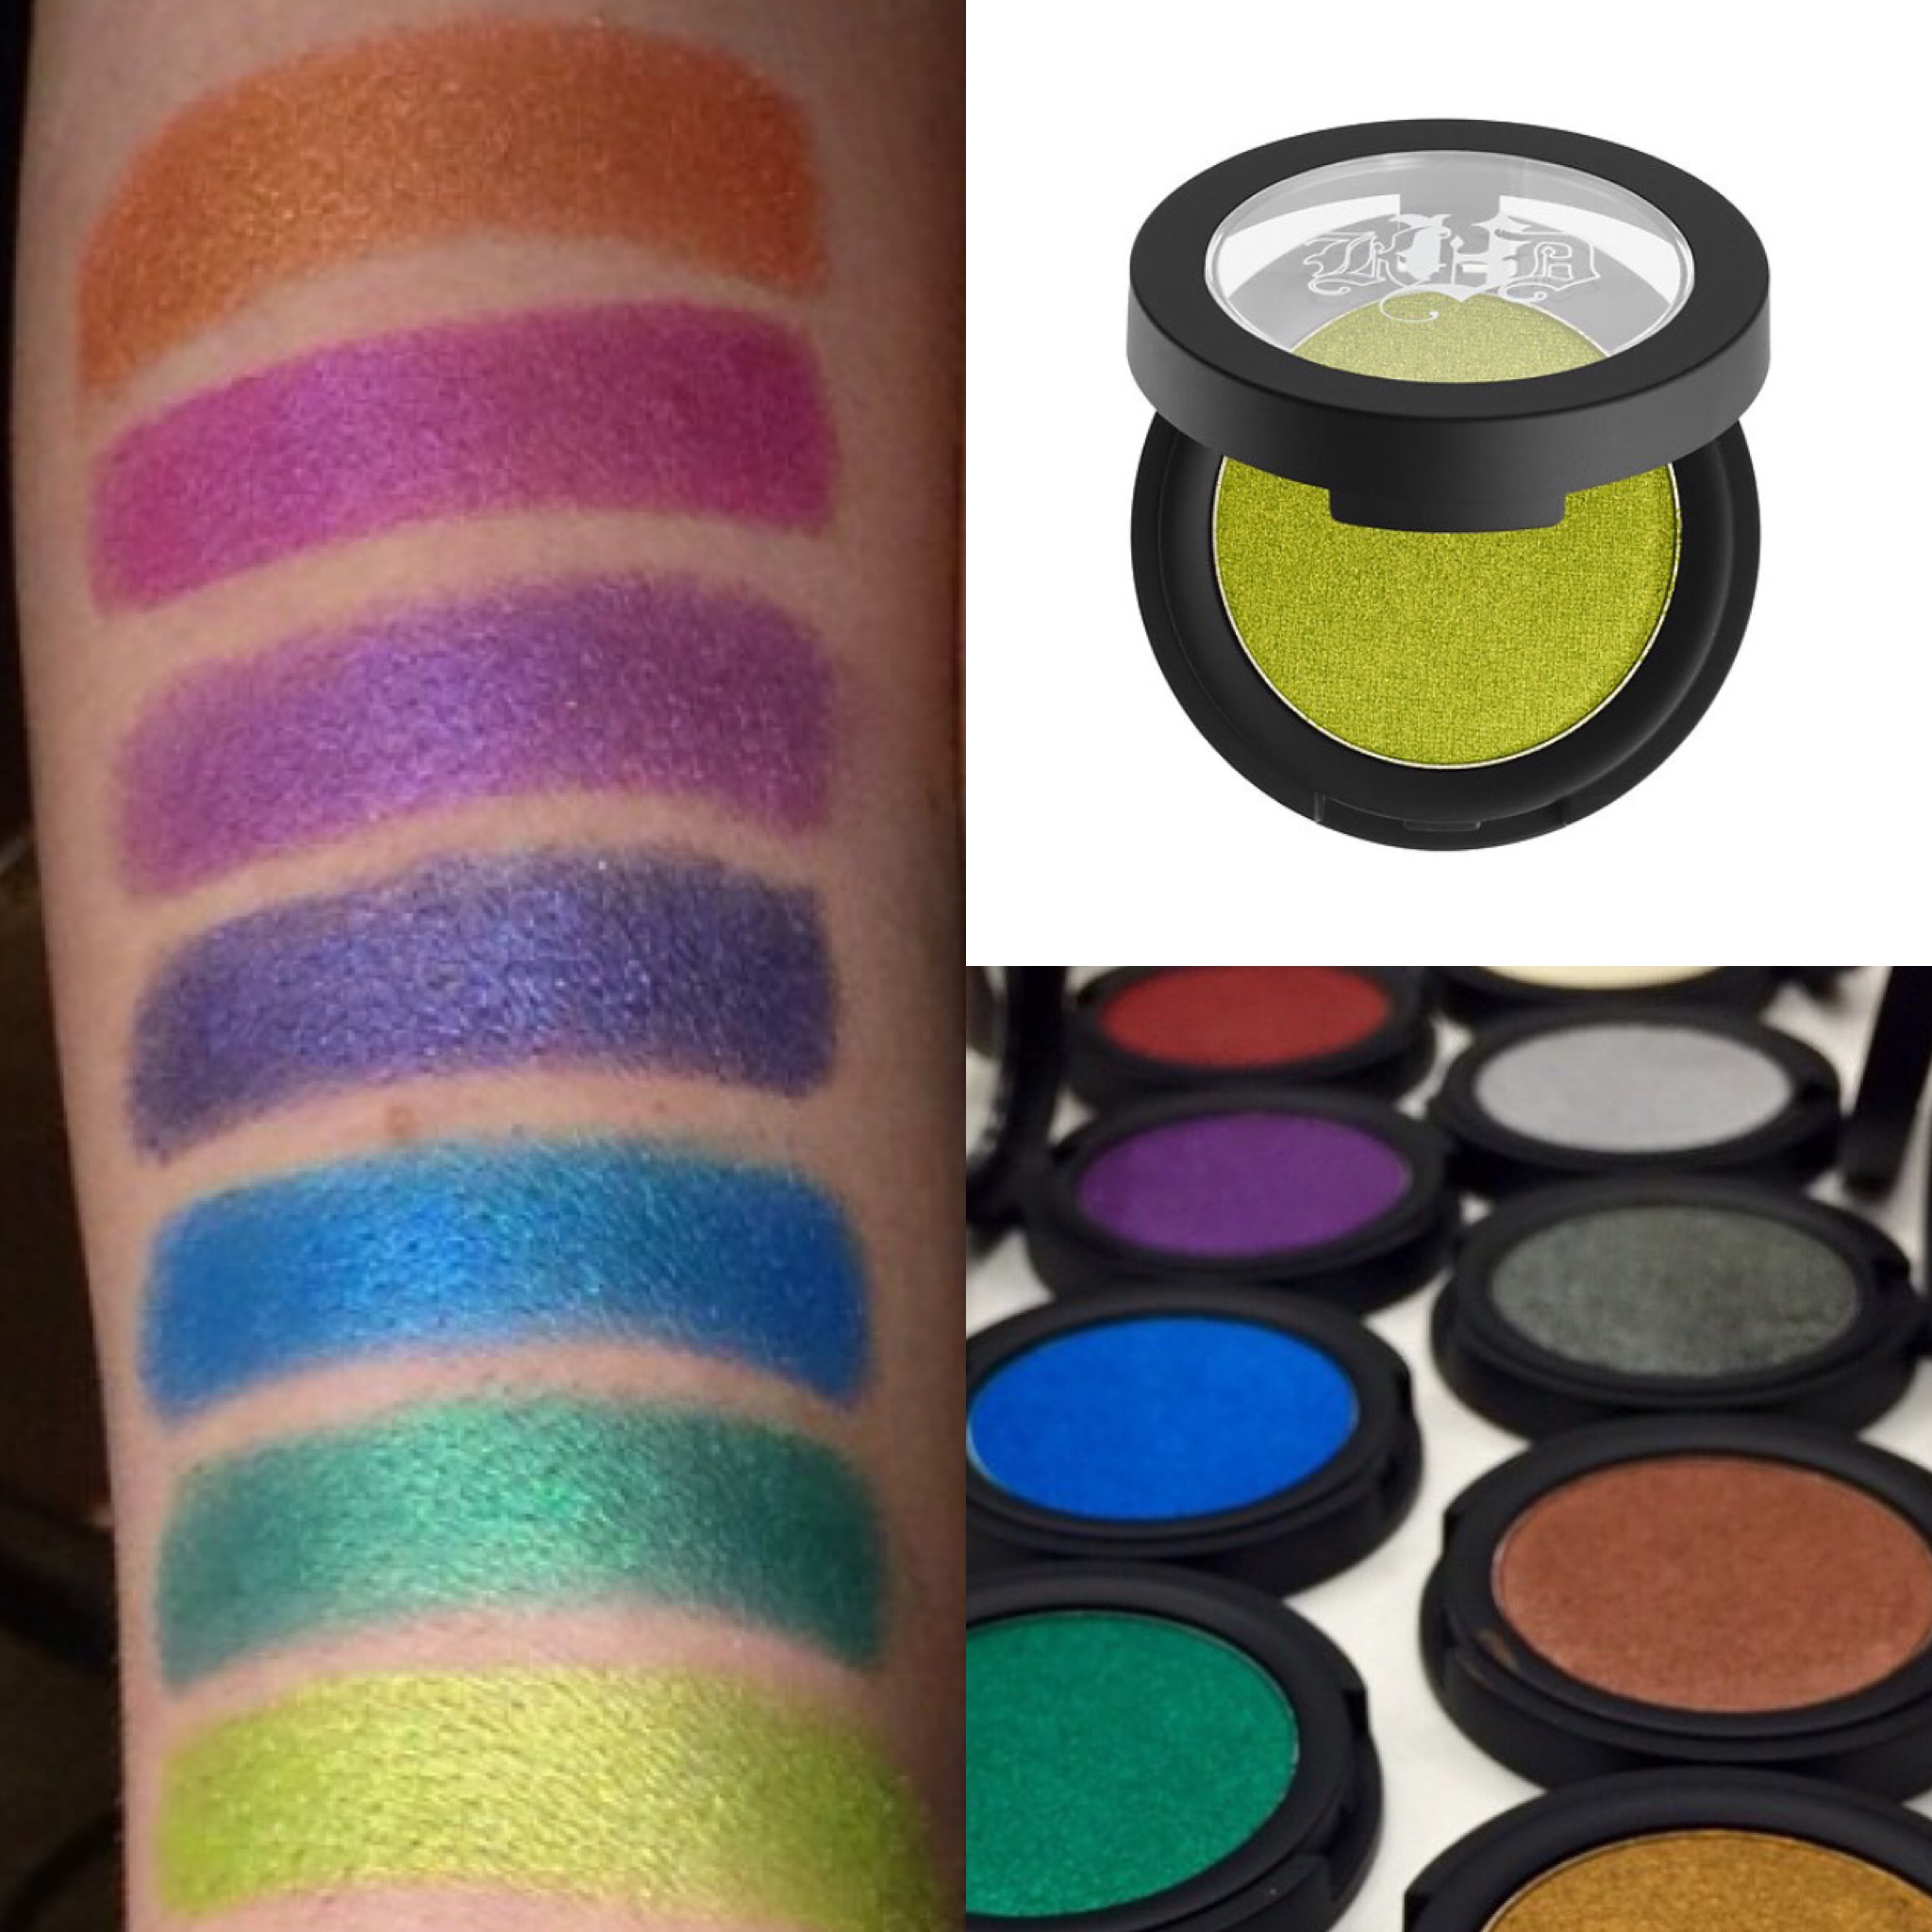
Kat Von D Metal Crush Eyeshadow – Finally our girl is coming out with single eyeshadows. These are all that you thought they would be; pigmented, awesome, and awesome. The new colors are so cool you just have to go swatch them in store to know what I’m talking about. They look even cooler when the light hits them
Tarte Energy Noir Palette – Another palette from Tarte that looks a lot like the other ones they’ve come out with but at least they are functional and travel friendly. Not to mention a good gift to give to a friend. Or me.

Naked Smoky Palette – I know you’ve already seen this, but I had to include it or I wouldn’t be doing my job and might get fired by the beauty blog gods. Thanks for understanding


Eye Brows
Urban Decay Brow Beater – These are pretty comparable to the Anastasia Brow Wiz… I mean its pretty much just different colored packaging but you will still find some people out there who claim they can feel a difference. Just go in and swatch them for yourself to see if you’re one of those people

Lips
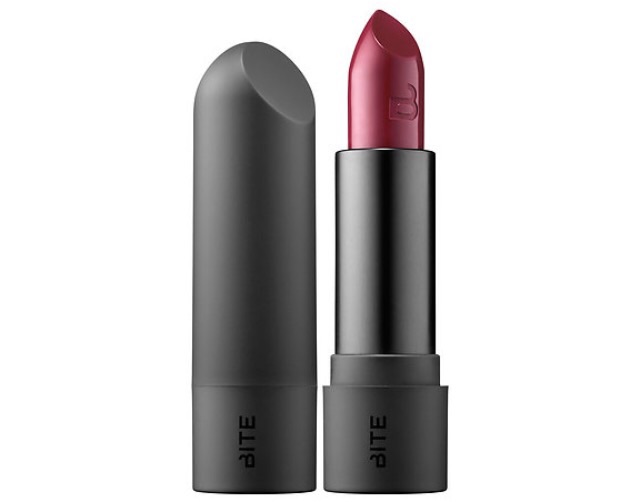
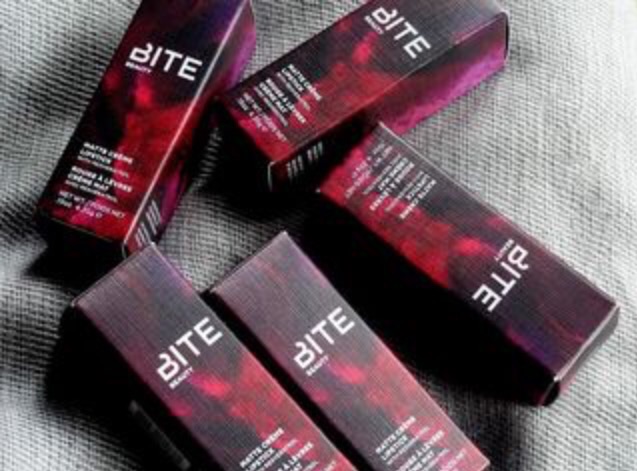
Bite Beauty Frozen Berries Matte Crème Lipstick – These are pretty much what the name suggests. Can’t remember if they’re limited edition of not (they might be), so get them while you can
Urban Decay Matte Lipstick – These are pretty cool and will be a good buy if you like wild colors and matte lips. There isn’t a pinky nude shade, however, which deeply upset me since that’s my thing but my doctors say that I’m probably going to live


That’s it folks! Thanks for reading and suffering through the joke portion of this blog post, you’re a real modern day superhero. Anyway — I’ll be back soon with more beauty related shenanigans so stay tuned and don’t forget to follow me 🙂
Love,


For those of you who don’t know what gratis is, every month Sephora employees get a free bag of new beauty products to try out at home so we have more credibility when suggesting products to clients. It’s a huge reason why a lot of beauty lovers want to work at Sephora… We get free makeup. Every. Month.
So here’s what we got for July gratis:


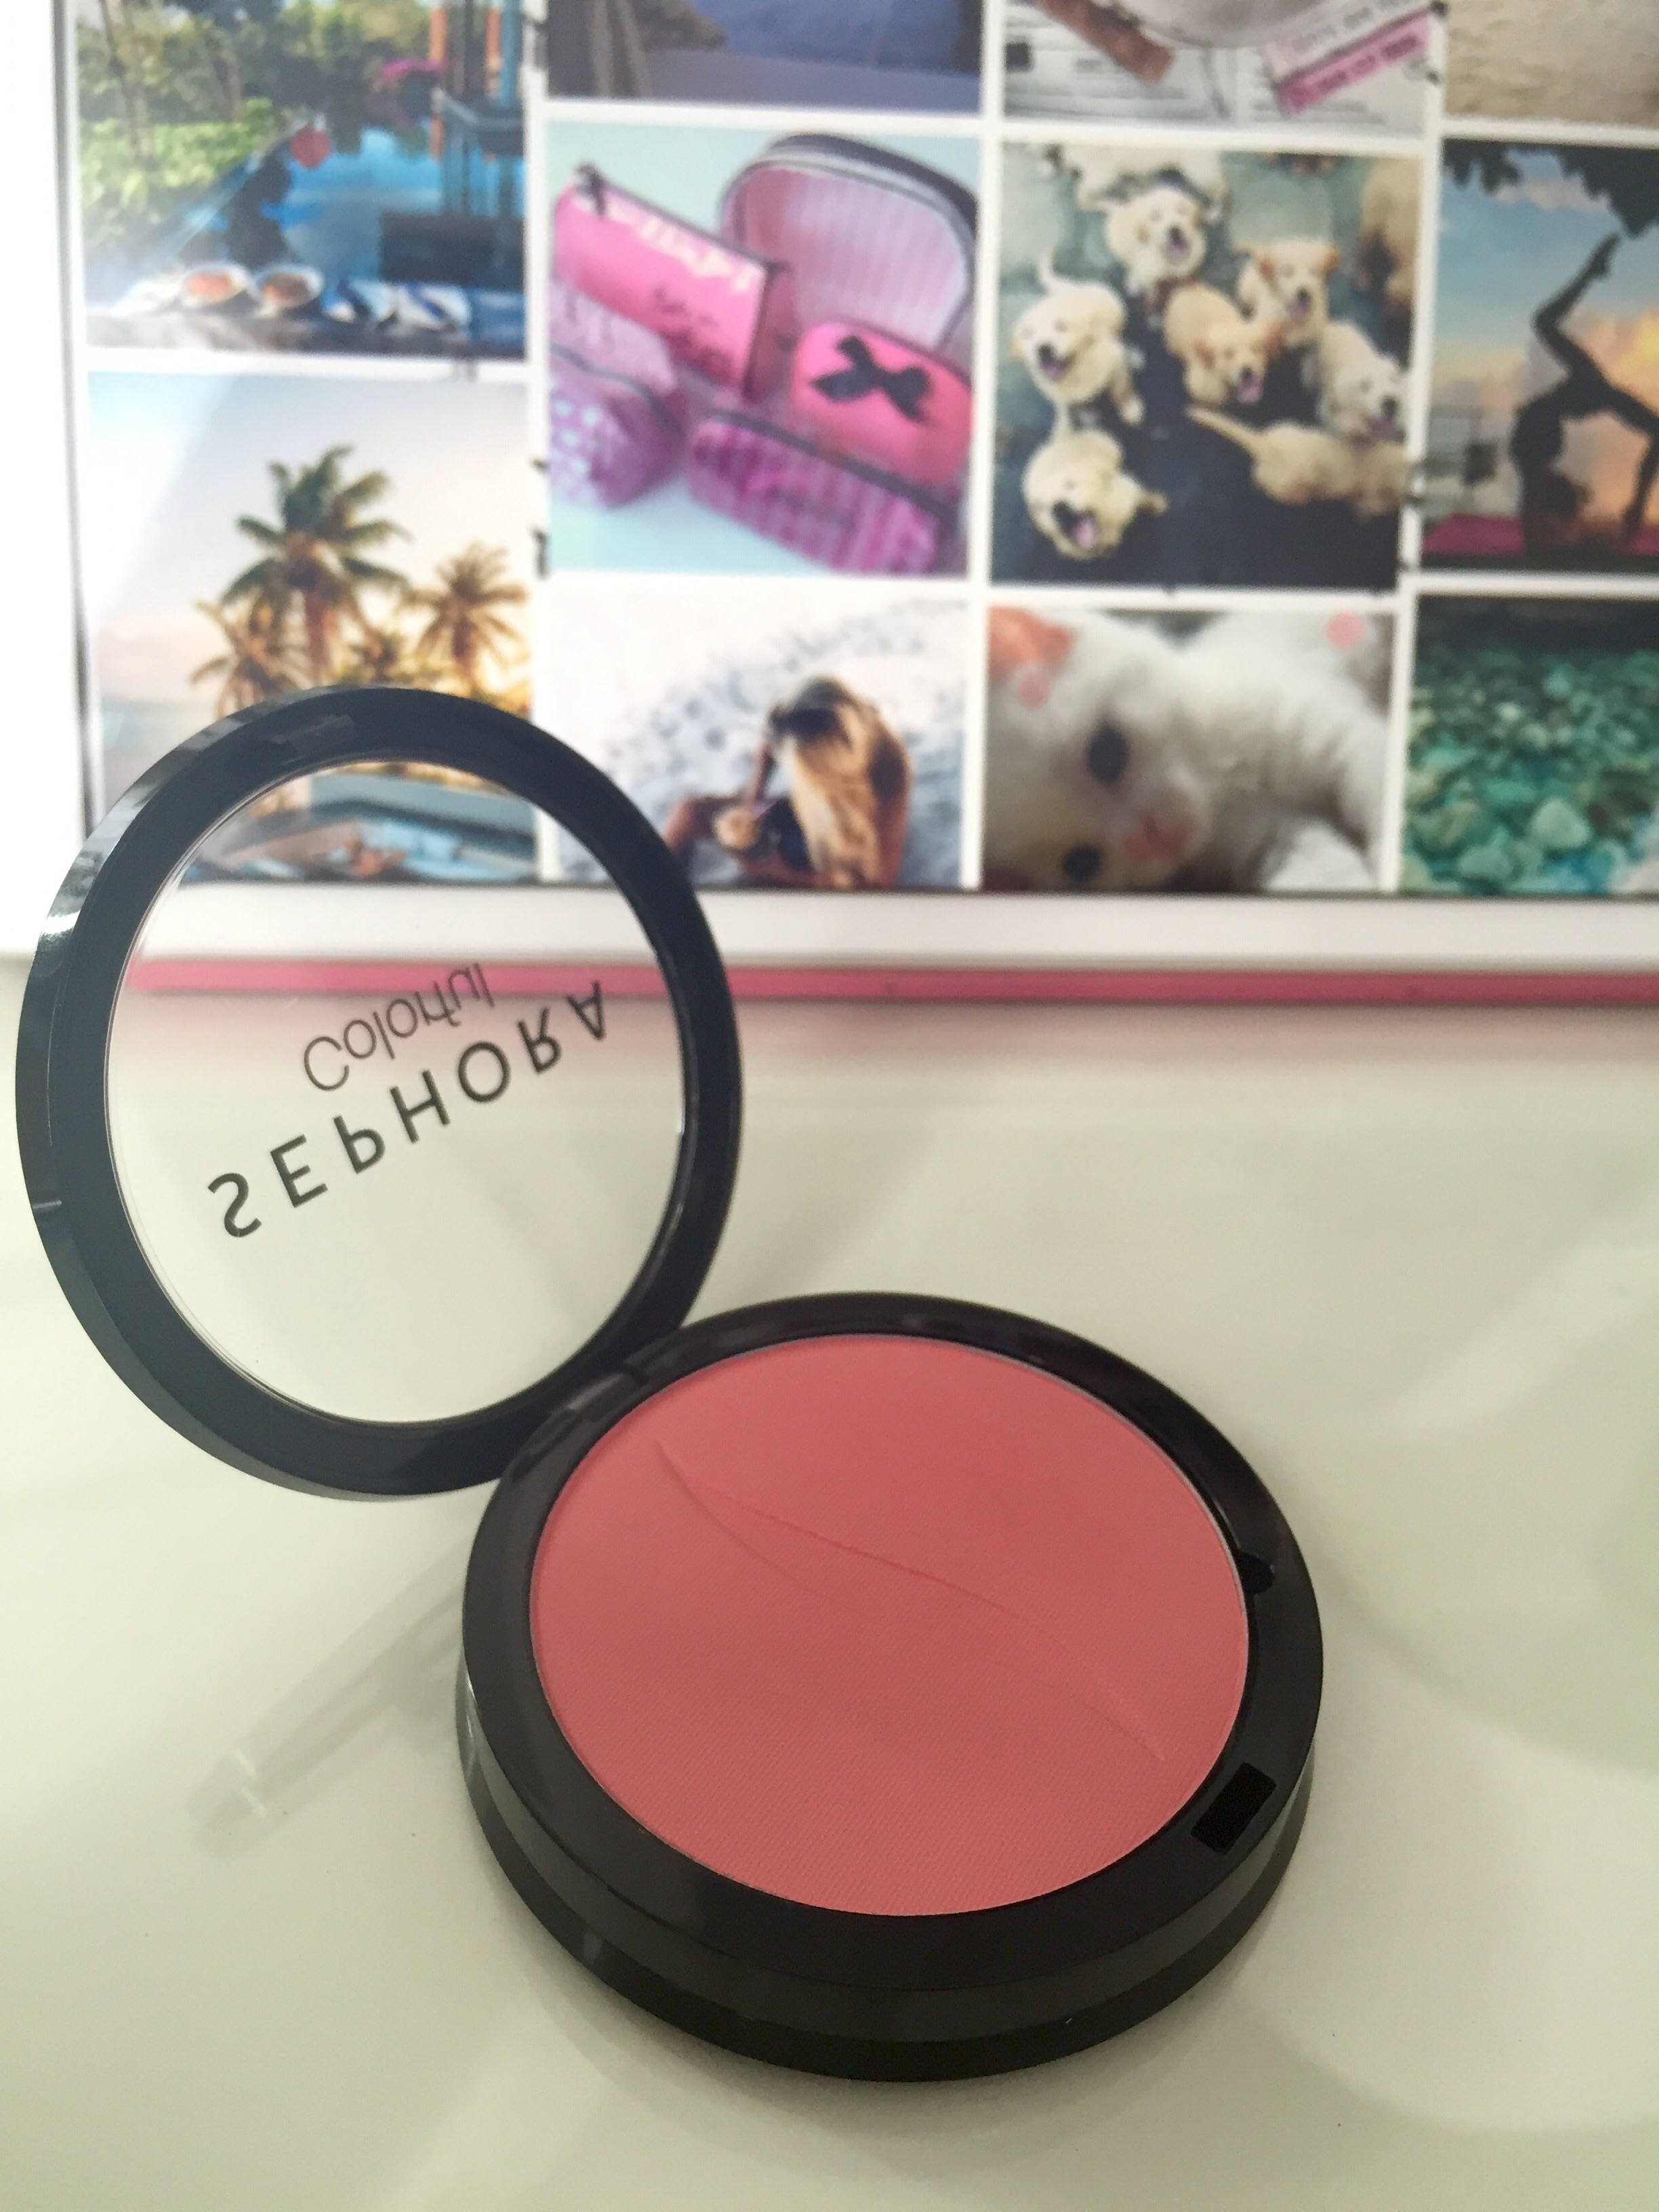


That’s it for this month’s gratis! Thanks for reading! Please visit my blog for next month’s gratis haul and don’t forget to follow me 🙂 Stay beautiful!
Love,


It’s no secret that taking a great selfie is an art form. The only reason I even have a passcode on my phone is because I don’t want people having access to all my failed selfie attempts that didn’t make my Instagram page. It’s serious business. Hence why I’m dedicating an entire blog post to the matter. Let’s get started.
 This app took me from having a few lame boys sliding in my DM’s to actual celebrities sliding in my DM’s. No joke. Blog post on that to follow at a later date. 😎. Anyway. Here’s a before and after using the features of FaceTune.
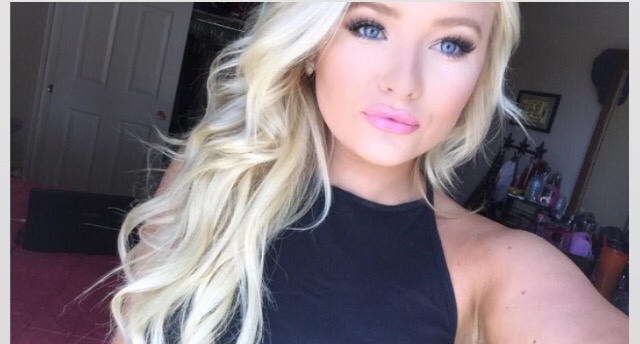
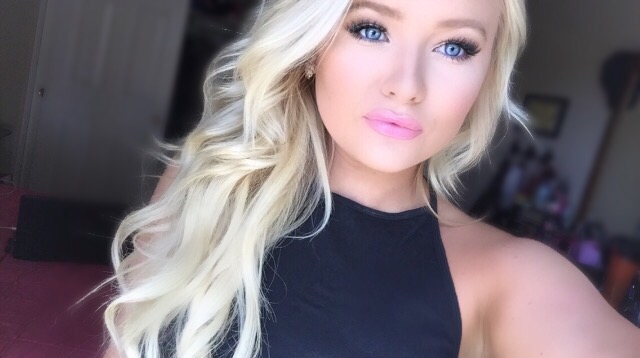
Pretty big difference, in my opinion. I mean the skin softener feature alone is why you need this app in your life. Good to note, however, that I did not change my face completely just enhanced what I already had. My eyes are brighter, my skin looks healthier, and it looks like I took this picture with a high def camera because of the “defocus” feature.
If I haven’t already made it very clear… This app is the secret to my social media success. I have 2300+ followers on my Instagram account (@kyliedennison 😏) and I usually manage to bring in an average of 300+ likes on my selfies. I haven’t always had followers however, so take these tips and watch as your fan base grows. #SelfieNation 📷
Love,
Kiki Chanel

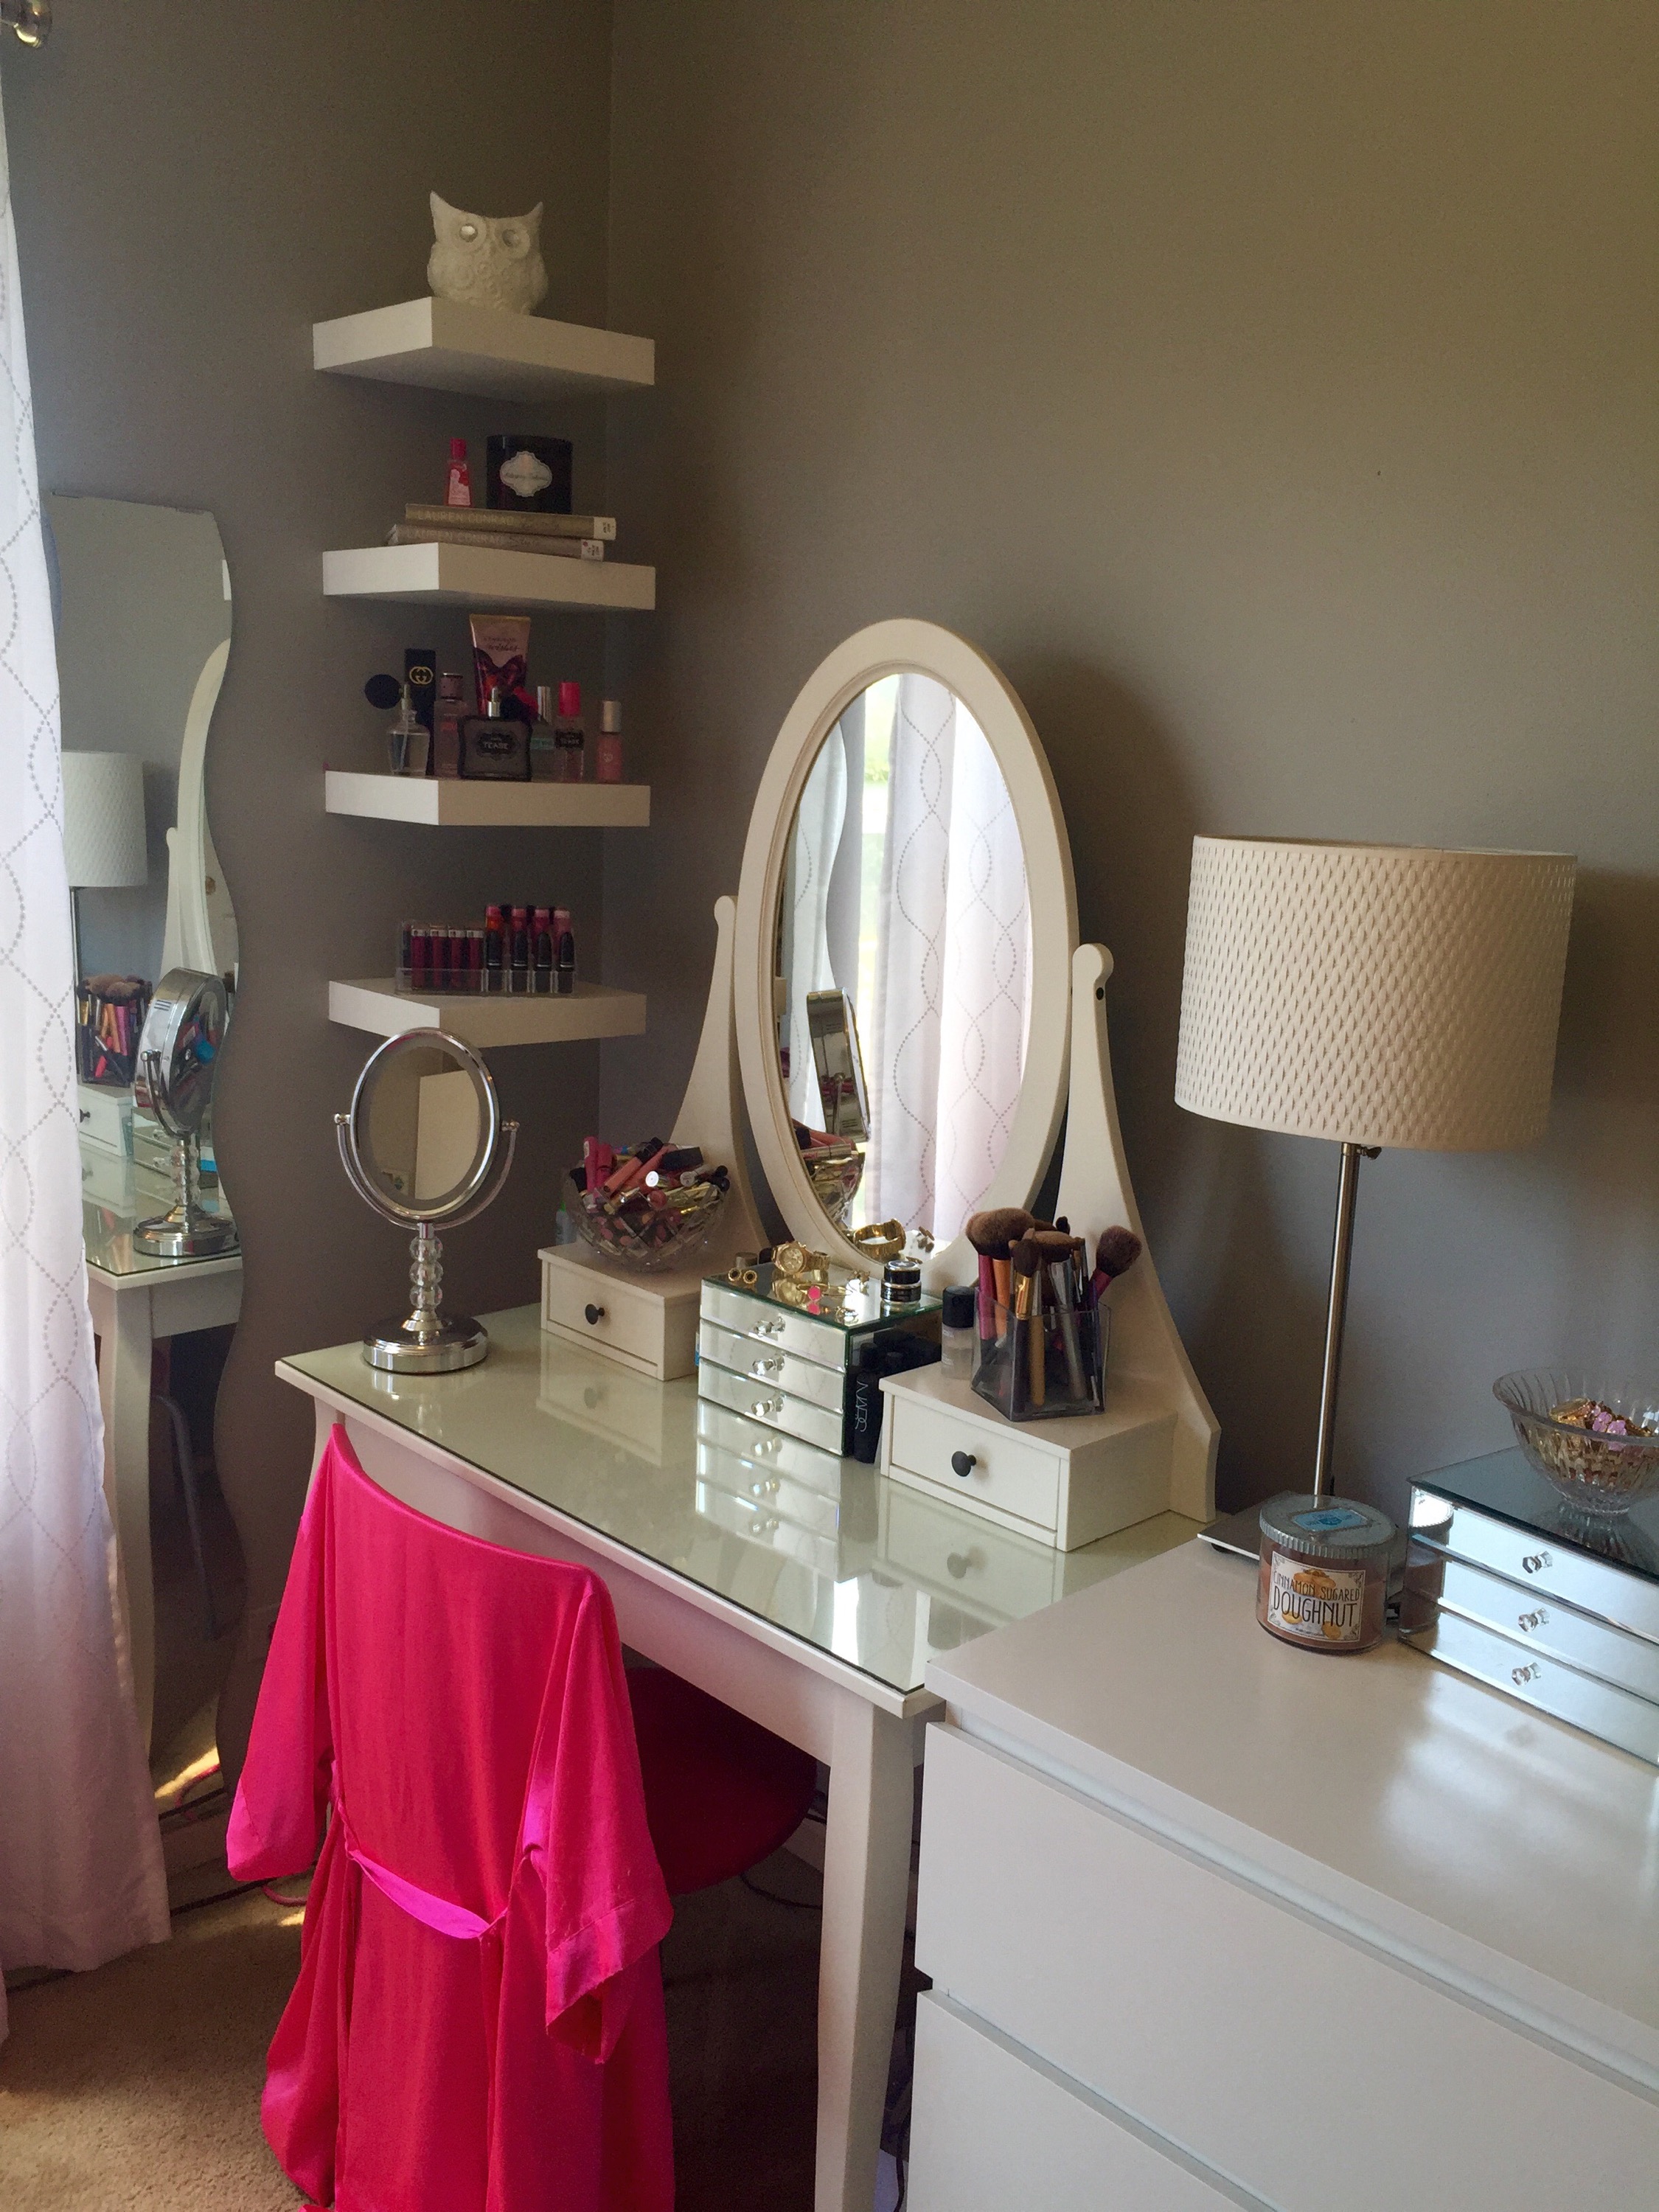
 One of the most important things in my life is surrounding myself with things that make me happy. Your room (where I assume you spend a great deal of your time) should be filled with all the things you love, hope for, and define who you are. I just wanted to quickly share my newly renovated room with you all and shamefully brag about it at the same time (annoying, right?). Honestly, surrounding myself with beautiful flowers, furniture, and accents has made a huge impact on my mood and my life as a result. I hope you take this post as a fun bit of motivation to make changes to your current space and watch as more things you love flow into your life because of it.
Love,
Kiki Chanel
Beauty from a Ginger's perspective.
The chronicles of a fashion and beauty obsessed 20 something year old with an unhealthy shopping addiction and love of donuts.
A fashion, lifestyle, and advice blog
beauty blogger
A perspective on trying to "make it" without needing to "fake it"
I'm just a girl who loves makeup
All things beauty
